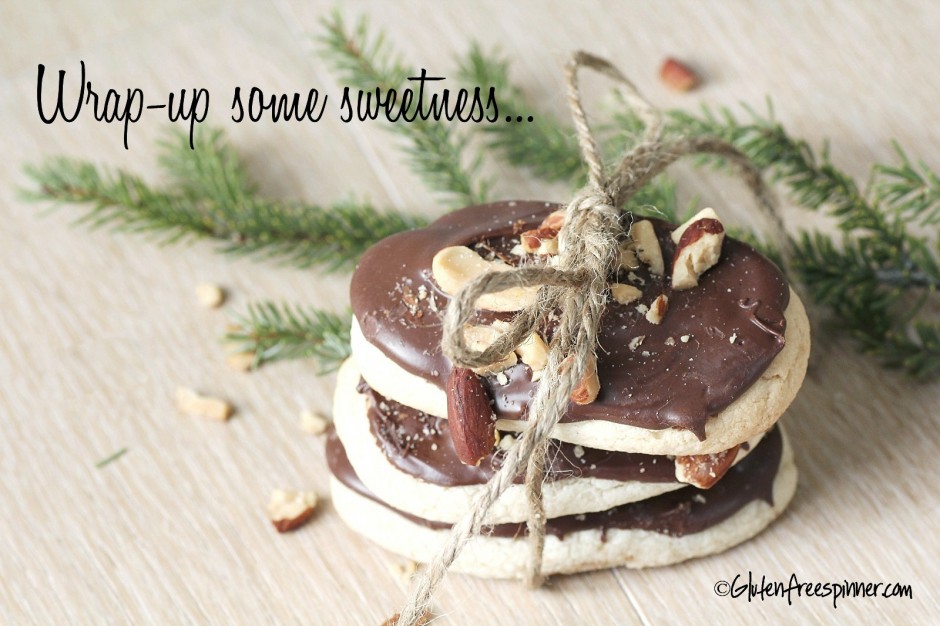
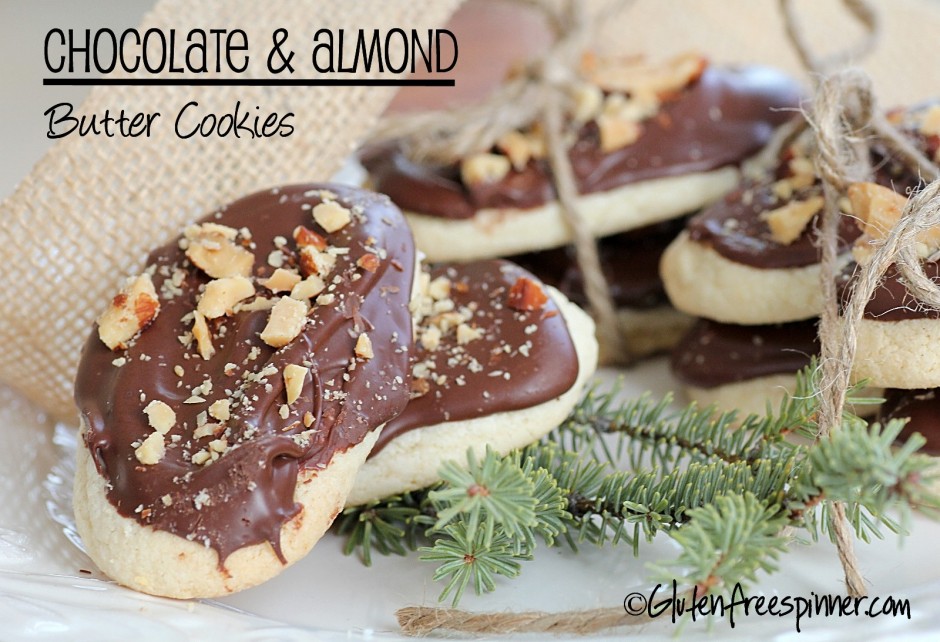
Butter Cookies topped with Chocolate and Almonds
It’s Christmas cookie season!
Mixing, baking, decorating, and tasting…sharing, gathering and wrapping-up the sweetness.
All in anticipation of this beautiful holiday season.
These cookies are one of my favorite as they are crisp on the outside with a tender-soft vanilla cake on the inside. The chocolate and almond topping makes them decadent and almost like a candy bar. They are so-so good.
The dough for these cookies is a fantastic base for many varieties of Christmas Cookies. It’s tried and true…
It’s versatile and easy to work with…
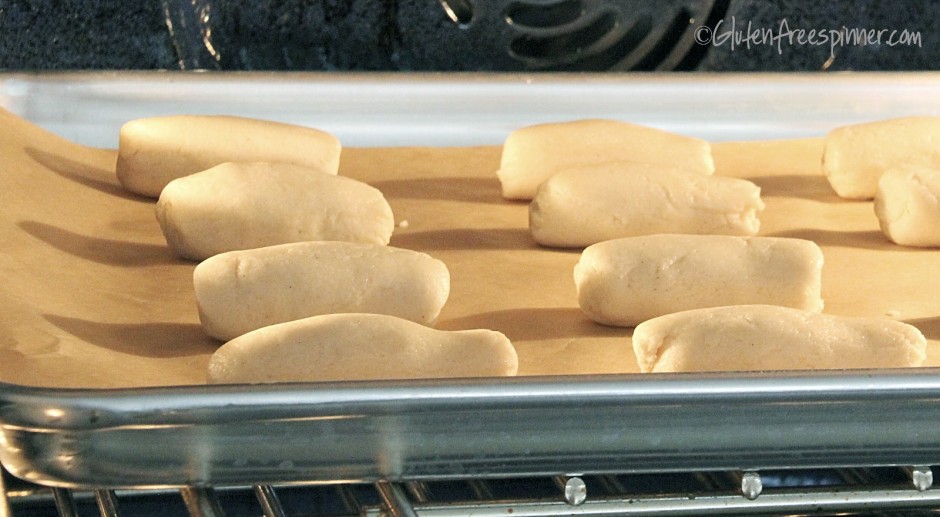
For these chocolate & almond cookies I started by rolling the dough into little logs…
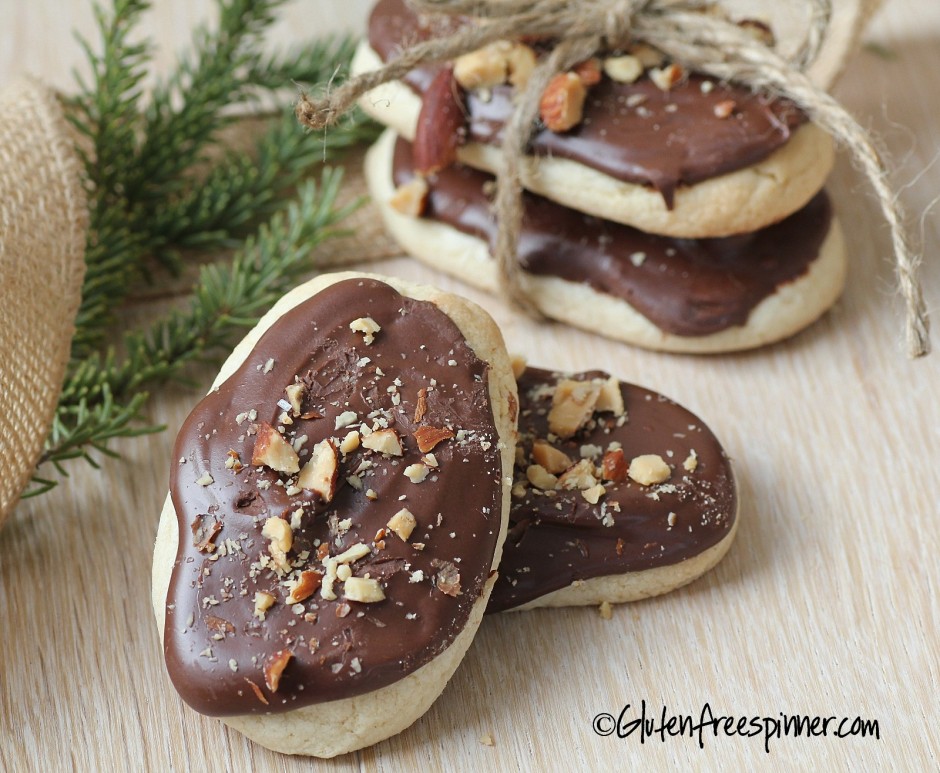
which baked into perfectly sized oval cookies. They are gently browned to a golden vanilla color which makes a great canvas for decorating. I decorated the first batch with the chocolate and almonds….
Melting chocolate chips with a touch of shortening in the microwave makes the perfect spreadable/dipable frosting.
Then sprinkle with chopped whole almonds while the chocolate is setting and you’ve got a decadent chocolate frosted butter cookie.
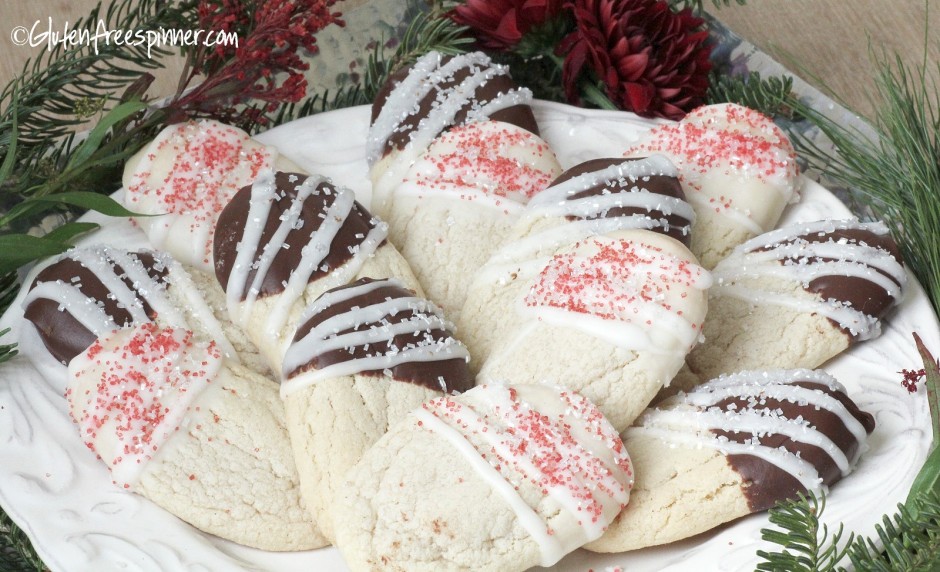
For the second batch I dipped one end in chocolate, drizzled white frosting across, and finished with sparkling white crystals.
I also dipped a few in white icing, drizzled more white across, then sprinkled with red sugar crystals.
They’re simply decorated with just a little glitz…which makes a nice addition to the cookie plate.
But they were calling for more detail….they looked like little people with hats wanting a face.
So…..I made little winter elves.
How cute are these guys?!
With their big blue eyes and fuzzy sparkling beards. Each developed it’s own personality as I went along.
The frosting for the eyes was a simple confectioners sugar mixed with a little milk and a little light Karo syrup…it has to be thick so it doesn’t run or spread.
Make a batch and keep it white in a separate bowl. Then add a little of the frosting to ramekins adding food coloring as you go. This makes it faster and easier as you’re only making it once. For the detail on the face, use a toothpick.
And what about the chocolate dipped cookies?
Little old ladies of course with their fur-lined hats and red lipstick.
It was a creative afternoon….
And the beginning of a fun baking season. Christmas Cookies!
Happy Baking!
Gluten Free Spinner Butter Cookie Recipe
Ingredients:
- 3/4 cup butter, softened
- 1/2 cup brown sugar
- 1/2 cup white sugar
- 1 egg
- 2 tsp vanilla bean paste or vanilla extract
- 3/4 tsp baking powder
- 2 1/2 cups all purpose gluten free flour
- I used my go-to APGF flour for baked cookies and cakes. Make a batch and store unused portion in tightly sealed container:
- 2 3/4 cups white rice flour (sometimes I use sweet white rice flour for cakes
- 1 1/4 cups potato starch
- 1/3 cup tapioca flour/starch
- 2 1/4 tsp guar gum or Xanthan gum
- For decorating: Chocolate chips, veg shortening, confectioners sugar, Karo syrup, chopped almonds, food coloring, decorative sprinkles.
- I used my go-to APGF flour for baked cookies and cakes. Make a batch and store unused portion in tightly sealed container:
Directions:
Preheat oven to 400 degrees. Line two large baking sheets with parchment paper.
Recipe makes about 2 dozen cookies
Combine the 2 1/2 cups AP flour and baking powder and set aside. (If you’re using a different AP Gluten Free flour, be sure to check for Xanthan Gum or Guar Gum, and if it’s not listed, add 1 1/2 tsp.)
In a large glass bowl, cream together the butter, sugar, eggs, and vanilla with electric mixer until creamy and well blended. Add the flour mixture to the butter mixture and blend until thoroughly combined. It will seem to dry, but it comes together to form a thick dough.
Using a 1 1/2″ spring loaded scoop, place the balls onto the prepared cookie sheets. With the palms of your clean hands, gently roll the balls into little logs. (See picture above). I had 14 on each cookie sheet.
Bake in preheated 400 degree oven for 7-8 minutes or until lightly golden brown. They’ll be puffed up but will rest a bit once they cool. Remove from the oven and allow to cool 2-3 minutes before transferring to cooling rack.
When cool, begin decorating!
Spreading/Dipping Chocolate
6 oz. GF chocolate chips and 1 Tbsp vegetable shortening in a glass bowl melted in microwave for 1 minute, then stir well until all are melted and smooth when stirred. Return to micro if needed but only at 10 second intervals. Don’t overheat or you’ll ruin the chocolate. It should be smooth and creamy, not necessarily hot.
Decorator frosting that hardens:
- 2 cups confectioners sugar
- 1 1/2 tbsp milk
- 1 tbsp Karo Syrup
Mix well. You can customize the thickness in each ramekin as you add food coloring. Make a little thinner for dipping and thicker for detailing with toothpicks.

