Personalized Scratch-Off Cards for Baby Shower
As I mentioned in the last post, I’m going to be a first time grandma!
YIPPPPEEEE!!
While I was looking for games and activities to play at my daughters baby shower, I saw an ad for scratch-off cards to order. I thought it was a fun idea, but I didn’t want generic ones, I wanted personalized ones! Hmmm…there must be a way.
Good Ol’ Dr. Google led me directly to The Dainty Squid, a very talented young woman’s blog who has a step by step tutorial on how to make your own! How fun is that?!!
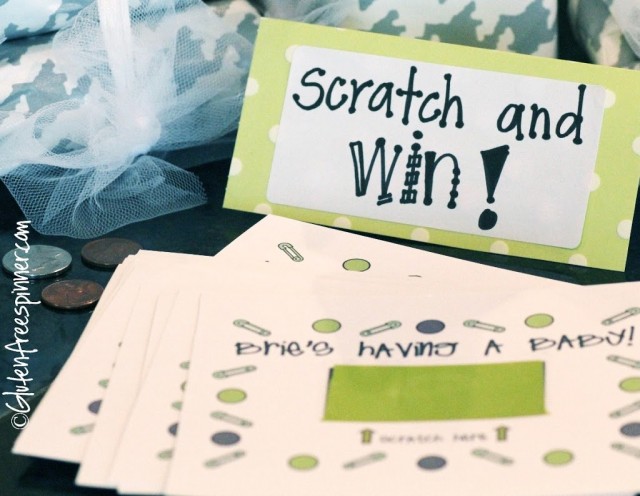
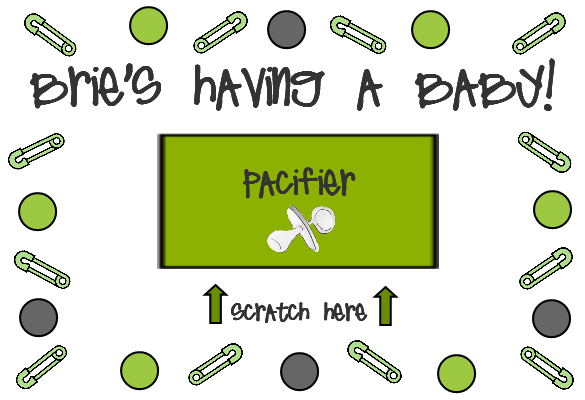
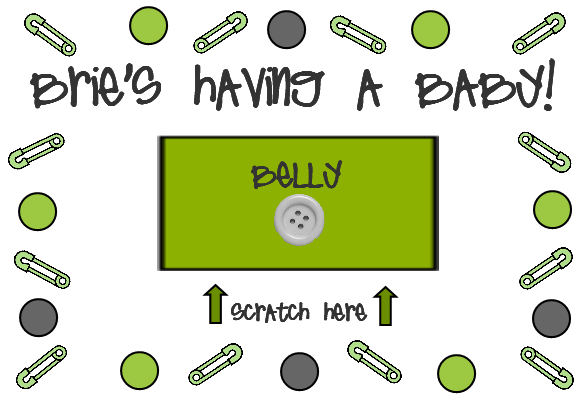
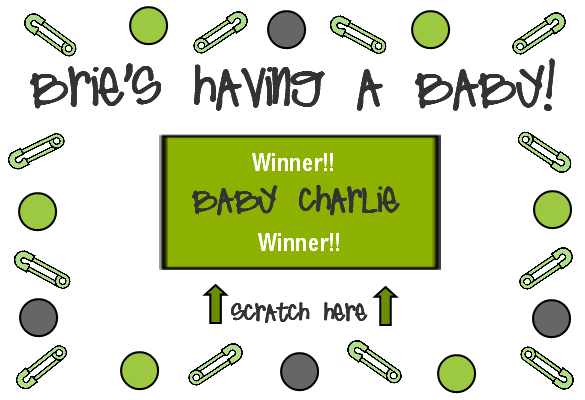
First thing I did was make a template for each of the different cards. I made three non-winning scratch off template’s and one winner template. I made 8 of each non-winning (24 total) and 4 of the winning and printed them on my home printer using card stock paper. They turned out beautifully.
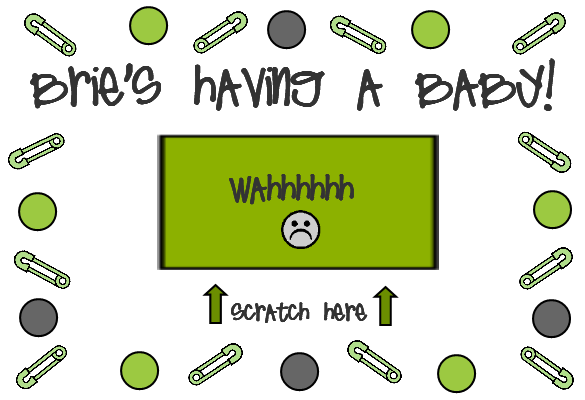
Here are the non-winning templates:
And here’s the winning ticket:
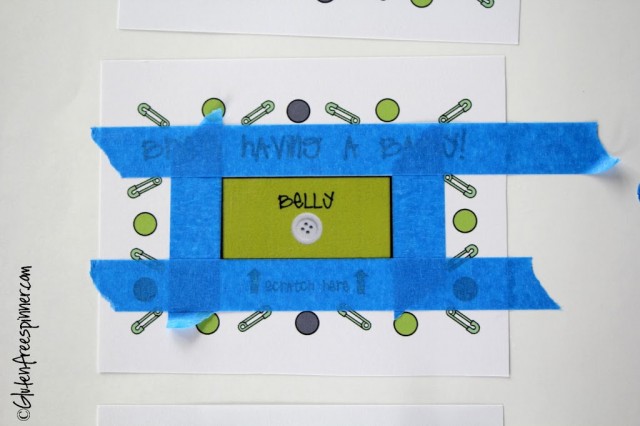
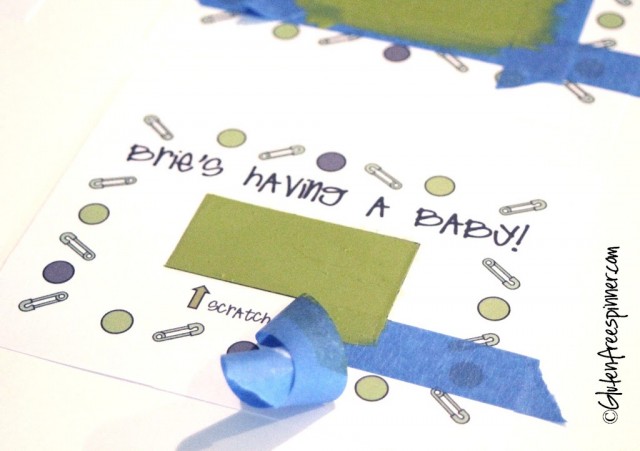
The first step in making the scratch off area is to put a strip of packaging tape over the part that is to be scratched off. I chose to make the scratch off section in the middle of the card because I liked the look better (my cards are 4×6). It’s good to know that doing it this way takes a little more time because the tape needs to be pre-cut to the size of your scratch off area. I pre-cut a rectangular piece of tape the size of the green box first and put it over the top to cover just that area. In the Dainty Squid’s tutorial, she ran the scratch off area onto the sides, making it easier to adhere a piece of tape all the way across. Your choice…both ways work.
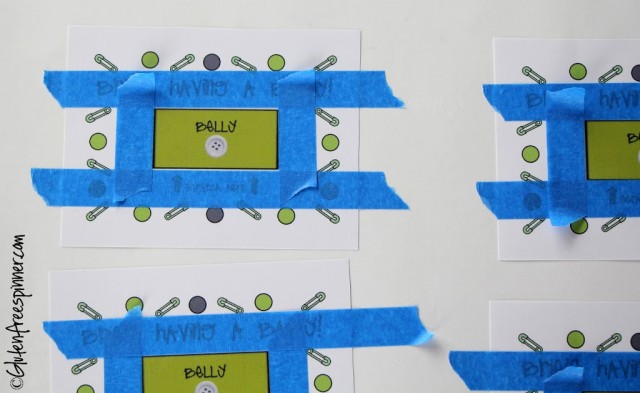
Next, you tape off the area to be painted (scratched off) with painters tape so you have nice clean lines. The tape also holds the card in place on the poster board. I used a large piece of poster board so I could do many at that same time.
Next you mix the Acrylic Paint and Dish Soap, two parts paint to one part dish soap, I used Dawn.
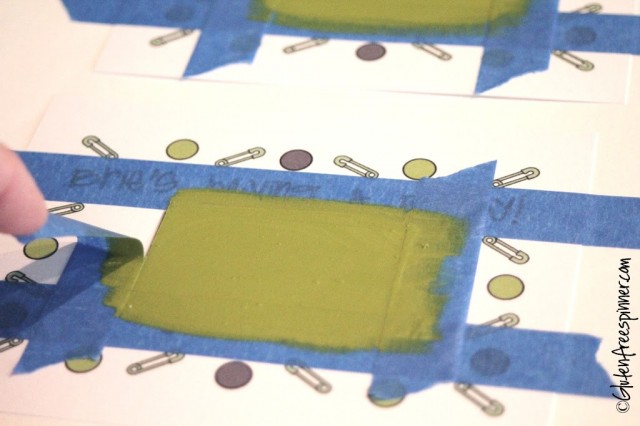
Now just start painting! Thin even coats, allowing to dry between each works best.
I needed three coats to totally cover the area.
When it’s totally dry, just remove the tape and waaaalaaaa, you have scratch off cards!
Isn’t that the coolest thing?
It was easy and so much fun to see the finished cards.
My daughter LOVED them and felt so special that I had personalized them.
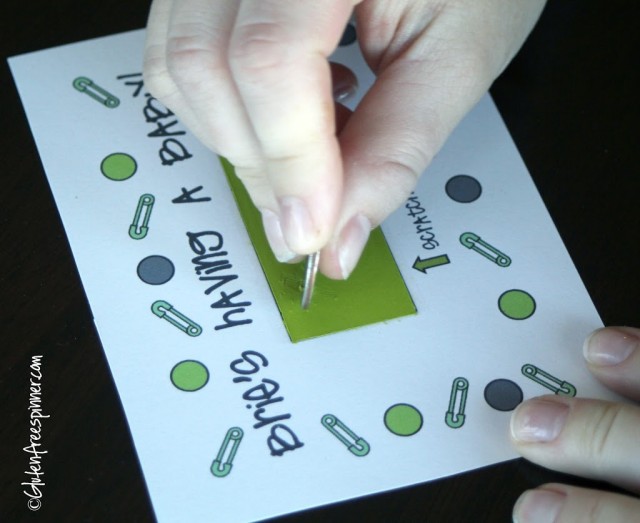
I let her scratch the first one to see if they worked…..
Yay!! So much fun!
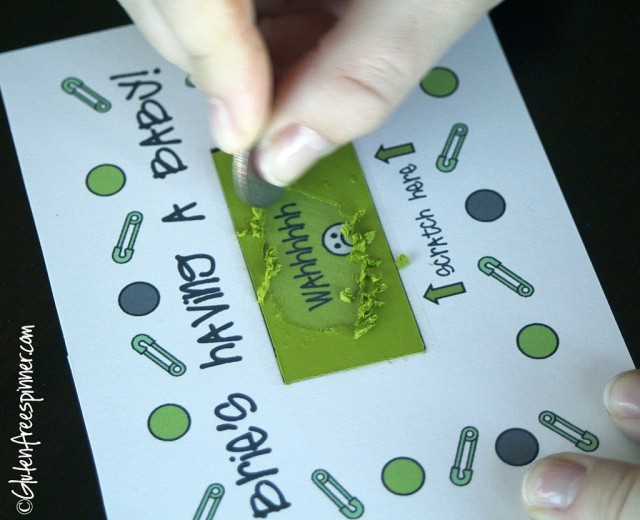
Haaha…“Wahhhhh” Not a winner.
Give these a try, they’re a lot of fun. Even the little kids can play, in fact little Maddy who’s three years old was one of the winners. She was so excited!
I’m happy to share my template if you want to personalize it for your own…..
Just let me know in a comment below.
Cheers!
Mary
Supplies you’ll need:
- Template of your scratch off card
- Card Stock Paper – enough for the number of cards you’re making
- Scissors
- Dish Soap (I used Dawn)
- Acrylic Paint (I only used one small craft size bottle for 28 4×6 cards)
- Small paint brush
- Packing tape
- Painters Tape – blue stuff (don’t substitute or it will stick)
- Scrap paper or poster board

