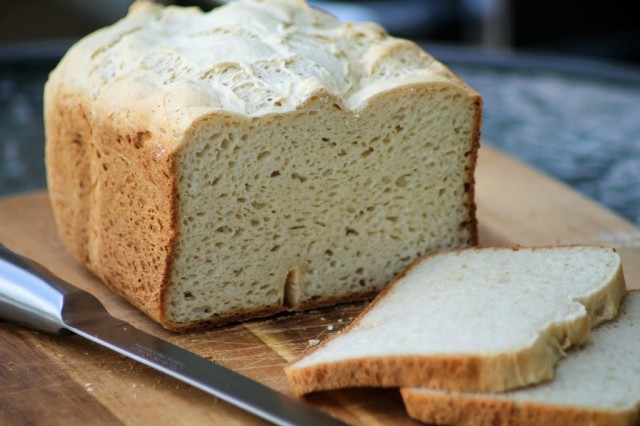
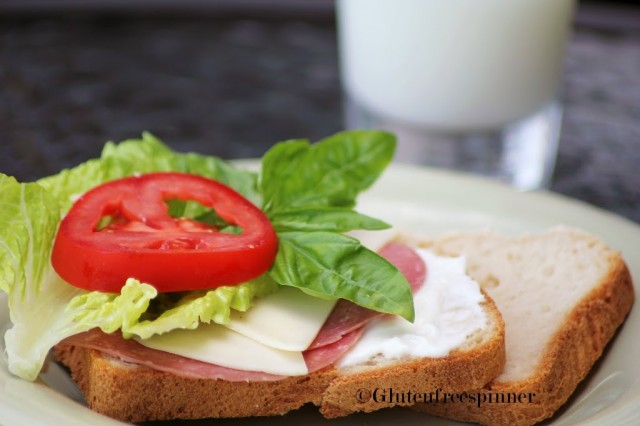
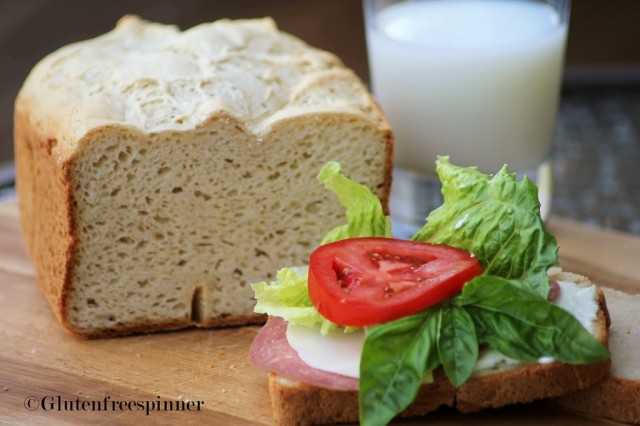
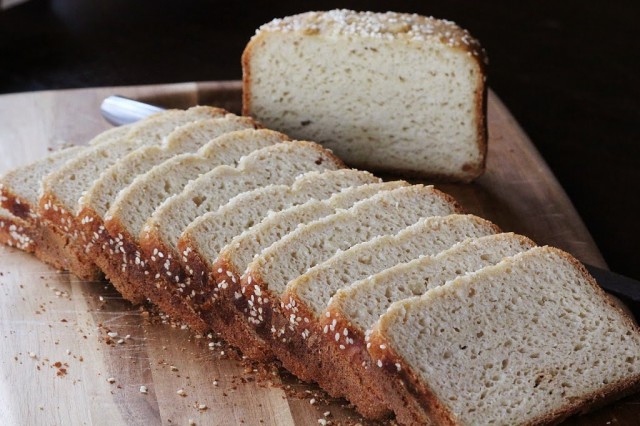
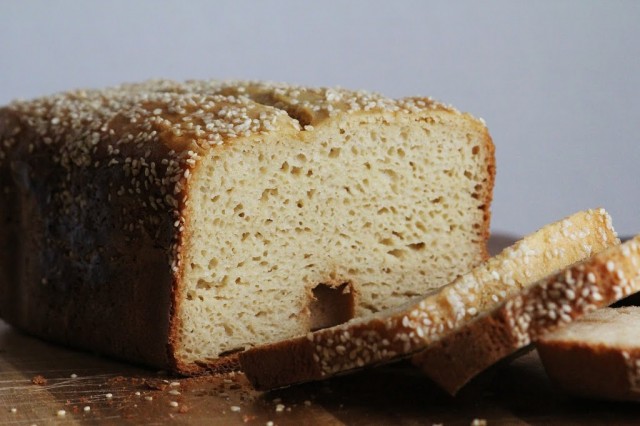
This will most likely be my longest post ever, but I want to talk bread…..again. My last attempt at bread was August 7th 2010 (the picture above) upon which I thought I finally had a recipe worthy of posting to share with everyone. It was beautiful with airy holes and browned crust…and IT DIDN’T FALL! For those of you who have tried countless times
to bake an edible loaf of gluten free bread, believing “this time” you really did it….only to witness the perfectly risen golden brown loaf you just removed from the oven (bread machine) fall, you understand my exclamation. First the top caves in and next the sides…creating an “X” instead of the beautiful mounded rectangular loaf you thought you had. That’s exactly what happens, right? And for me, I was so determined that I instantly started all over again! Ugh! The record for me in one day was four loaves, all of which fell. What on earth was I doing wrong? To learn the art of baking bread before creating my own recipe, I had gathered other bloggers “amazing bread” recipes and followed them exactly as written, and mine either fell or tasted horrible. How could that be?
Four days and many peanut butter toast’s later, my husband mentioned that his rosacia was acting up all week. What could be wrong? I reminded him of last Spring when his dermatologist recommended a gluten free diet to alleviate the symptoms of rosacia. He looked at me with disbelief. Of course…the many peanut butter toasts made with his loaf of honey wheat bread. He had been living gluten free with me for so long, he didn’t realize the benefits it was giving him. Until now.
Mary’s Best Gluten Free Bread
Ingredients:
Dry
- ½ cup Sorghum
- ½ cup millet
- 1 cup tapioca starch
- 1 cup cornstarch
- ¼ cup coconut flour
- 3 Tbsp brown sugar
- 2 ½ tsp Xanthan Gum
- ½ tsp cream of tartar
- 1 ½ tsp salt
- 3 Tbsp butter – melted
- 1 tsp cider vinegar
- 1 ½ cups water
- 3 egg whites
DIRECTIONS FOR BREAD MACHINE:
The bread machine I use is the Zojirushi BBCC-X20
These are the settings I use:
Set the machine to the homemade setting.
Set the preheat option for 10 minutes.
Set the machine to knead for 18 minutes.
Turn rise 1 and 2 off.
Set rise 3 for 1 hour.
Set the bake time for 1 hour and 10 minutes.
Turn the keep warm cycle off.
Set the machine to your desired crust setting, I have mine on medium.
Save the setting to Homemade 1 for future use
Beat the egg whites with an electric mixer for 1 minute then add the remaining wet ingredients.
Pour the beaten wet ingredients in the bottom of the bread machine pan. Spoon the dry ingredients on top of the wet being careful not to let the wet show through. Make a well in the center of the dry ingredients and put the yeast in the well. Close lid and press start (ensuring it’s on the homemade cycle listed above).
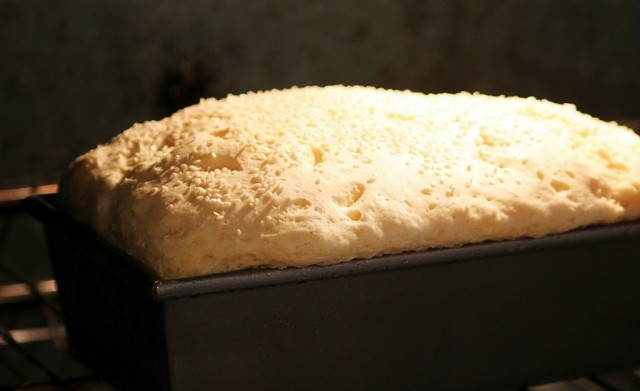
While the bread is mixing, give it some help with a rubber spatula and scrape down the sides of pan into the dough. When the mixing cycle stops and it starts the rise cycle, smooth the top as this is how your finished loaf will look. Sprinkle with sesame seeds.
When the baking cycle is finished and the machine beeps, unplug and remove the baking pan from the maker. Brush the top of loaf with butter and set the pan on a cooling rack for 5 minutes. Remove the loaf from the pan and place on cooking rack and allow to cool completely before slicing (at least an hour). Slice with a serrated knife and store wrapped in parchment paper in a zip lock bag.

